Sunday, March 4, 2012

Vertical Organization with Peg Board


I decide a few months ago that I want to redecorate my entire house. One project I wanted to tackle was my desk/work space. Since I have this issue about wanting to see all my stuff, a opposed to putting it in drawers or cabinets, I decided to try to use pegboard.

Since I couldn't fit an entire sheet of pegboard in my car I asked my dad to pick up a sheet the next time he went the lumber yard. It was a good thing I asked him, since he had a few sheets in the barn. There was a little water damage on the edges, so I couldn't use a full sheet as I intended. So my dad cut one of the sheets down to 3' x 6'.


The pegboard has been sitting in my house for months now, but finally the weather was warm enough that I could take my project outside to work. I had purchased 3 - 8' x 1" x 3" s to frame the pegboard as well as spray paint.

My first step was to cut the 1 by 3 to length. I cut a piece for the top and sides, but left off the bottom, since it will be behind the desk.

Next, I primed and painted the pegboard and trim. While it was warm enough to work out side, it was rather windy, so spray painting was a challenge. I ended up with a lot of drip marks.

After letting the paint dry for a while I brought everything inside and attached the trim.

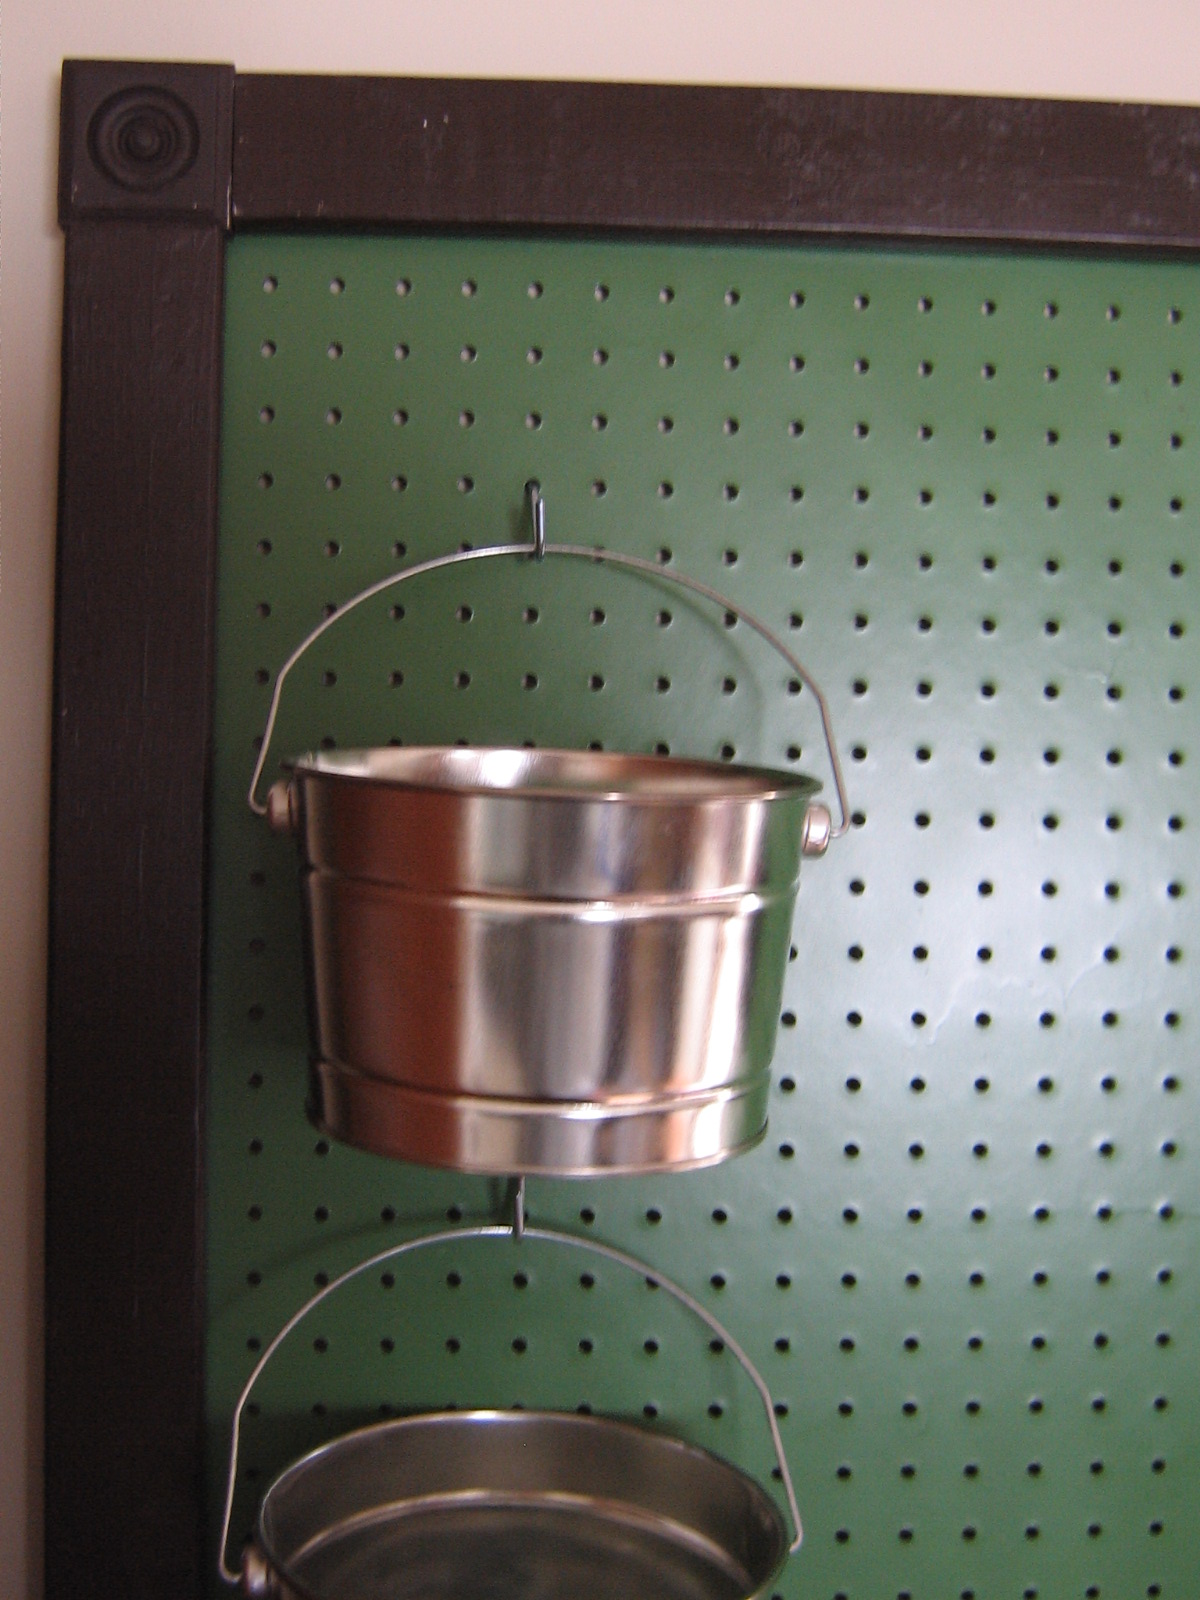
My finished pegboard is now standing behind the couch. Eventually I will re-arrange my furniture and switch out my desk, but for now I can play around with different peg configurations.
I'm really please with how it came out. I like the 3' x 6' size. I love the colors. If I did this project again I would wait a little longer for the paint to dry before assembly, other than that there's not much I would change!

Sunday, January 15, 2012

Adventures in Cross-Stich

I finished something today, and I feel accomplished. Several years ago I decided I wanted to learn how to cross-stitch. I bought myself a Counted Cross-Stitch kit, and dove in. I finished the cross-stitch a while ago (years, I'm sure, but I don't know how many.) I never got around to the finishing touches; the framing. The project got lost in the shuffle, but a few months ago I was cleaning out my shed and found a giant box of crafting STUFF; supplies, patterns, and a mostly finished cross-stitch.

Yesterday I went on the hunt for a suitable frame for my creation. This morning, my hard work finally has a home:


I wanted to include the information on the kit itself, so I want on a fruitless search on the interweb... until I remembered that despite the fact the my house looks like someone broke in and ransacked the place I am actually a rather well organized individual. Since this project started pre-blogging I went to the bookshelf, pulled out my project book, and found the information I was looking for:


I have the instructions, too. Sometimes it's nice to be reminded that I do have basic organizational skills.

Sunday, March 21, 2010

Happy Spring

Since yesterday was such a fabulous first day of spring I spent some time out in the garden clearing out the remains of last year's growth. I've been thinking about inexpensive ways to keep the weeds from growing between now and when it's time to plant (after Memorial Day).

I also have been looking for uses for cat food bags. I buy large bags of cat food,and the material for the bag is some kind of woven plastic material (like a tarp.) I want make a tote bag out of the stuff, but I can only use so many tote bags. I have a lot more cat food bags than I need.

I decided to try using the cat food bags as my weed barrier. I'm not sure how well they will hold up exposed to the elements. I may end up with a lot of little plastic flakes in my raised bed...

Wednesday, March 10, 2010

Ah HA!

I've been thinking about the strap of my bag ever since my last post. I haven't liked the length, but I wasn't sure how long it should be. But how to determine the ideal length? Plus, once I decided how long the strap should be did I really want to have to rip seams to change the length?

Well, I was struck by inspiration this morning. Frustrated with the strap yet again (at the original length it tends to slip off my shoulder) I finally just tied a knot in the end of the strap. Once again I was over looking the simple solution. I'm glad I finally stopped thinking.

[insert picture here, when blogger lets me upload pics]


If I make similar bags in the future I think I might finish off the ends of the straps, without sewing them together. That way I can adjust the bag as often as I want.

Sunday, February 28, 2010

First steps in sewing

My high hopes of having time after graduation to work on projects and record the results here seem to have been dashed. Although I haven't post anything in almost a year I have been working on a few projects as time allows. In fact, I've even taken up a new hobby - sewing!

My first sewing project, aside from wardrobe repairs, was a holder form my crochet hooks. It was a simple project that allowed me to learn about my sewing machine. I started with a search for patterns, but I ended up making my own pattern out of newspaper.

My next project was a shoulder bag. Again, I did a search for patterns online and found a few I liked. The two best, found here and here, I combined a bit. I liked the first because it was reversible. I liked the second because of the pocket. Once again I used newspaper to draw up the pattern. This is the final result:


I am very pleased with the final results. There's really only one modification I would make if I were to use the same pattern again. I want to try to adjust the length of the strap. I'm not sure I like it at its current length - though I'm not sure what length I would prefer. Other than that any improvement will be limited to developing my sewing skills, and that will only come with time and practice.

Friday, May 8, 2009

Book Rack

Project Title: Book Rack

Materials:
1 – 1” x 6” x 8’
1 – 1” x 8” x 4’ or 6’ (?)
Wood screws
Plugs

Tools:
Circular saw
Speed square
Tape measure
Drill
Countersink drill bit
Phillips head bit
Pencil


Process:
A few months ago I decided that I need a book rack for my desk at school. As a math teacher I have a lot of textbooks and notebooks that tend to just get stacked where ever there is room for them. I looked online for book racks, thinking that I would requisition one for next year. As usual I thought “I can make one of those”.

During study hall one day I drew up a sketch of my plan. It’s a simple design. The only real consideration I had was making it long enough, without making it so long that it sags under the weight of the books. The design below includes locations of the horizontal pieces, but the exact location shouldn’t matter, only the 90° between them. I chose to make the overall length of the book rack 24”, so that it would fit nicely on top of a filing cabinet if necessary. The cut length of the boards (22.5”) is 1.5” shorter to allow for the thickness of the vertical ends.

Cutting the boards was no problem. A circular saw is probably not the best tool for this type of project, but I didn’t have many options (note to self: add compound miter saw to the wish list). The cut edges were a little uneven, but it will do.

Lining up the holes for the screws was a little more challenging. The first side was easy enough. I just used my speed square to lay it out. I used a countersink/counterbore drill bit so I can add the plugs in when it’s all assembled. It was an adjustable drill bit, which I think is a little weird. But it works, and that’s all that matters. Just remember to tighten it well.
Matching the second end piece to the first was the big problem. It was easy enough to do, I just kept thinking about it backwards. In the end I matched up the pieces, and drilled a pilot hole through the first piece, into the second.

Once I assembled the whole thing I sanded it down, smoothed out some of the rough edges I cut, and rounded off the edges. I didn’t get the plugs in (mostly because I didn’t want to look for them.) Between AP Testing and the senior trip, most of my students are gone today. I wanted to bring in the ‘finished’ shelf so I could clean and organize – make the most of an otherwise boring day. I figure I can test it our for the next few weeks then can take it home at the end of the school year and work on it more over the summer.

I tested it out today at school. It works as it should. I might make another that’s a few inches shorter (12” – 18”). It annoys me that the binders stick out so much more than the textbooks, but that’s not a design flaw – it’s just the size of the binders.

Lessons Learned:
- Circular saws are bad for furniture making.
- Match up the sides first. Finish the cut ends together. Drill pilot holes through both. Last countersink/counter bore the holes

Time:
4-5 hours (?)

Thursday, April 30, 2009

An Introduction

In just a few short weeks I will be finished with my Master's Degree. I've been thinking about all the things I want to do with all the extra time I expect (hope?) to have. For the past two years my life has been focused on school and work and not much else. I used to blog fairly regularly. I also used to have hobbies. In fact, I collected hobbies the way some people collect stamps.

Knitting, crocheting, scrapbooking, fly-tying, woodworking... the list goes on.

I have a poorly maintained binder of past projects and ideas for future projects. I've decided to move it into the digital age. This blog will serve as my record of my current projects, some ideas for future projects, and portfolio of finished projects. When things are slow I'll fill in with some older projects.

Stay tuned for the first installment a week or so - I still have one more big paper to finish before I can dive into my projects.